Running simultaneous Scream instances
Scream is designed to work as a robust part of your seismic network. By default, it uses the configuration file scream.ini to set itself up automatically when restarted. However, in certain circumstances you may want to run two or more instances of Scream simultaneously on the same computer, with each instance having a different configuration.
This “how-to” describes some situations where you may need to do this, and explains how to set up your system to work with multiple Screams.
Situations requiring more than one instance
- A single instance of Scream can only record in one data format. If you want to record in several formats simultaneously, you will need to run as many instances of Scream as there are data formats to be recorded.
- You want to run one instance of Scream constantly in the background, and use a second instance to monitor the incoming signals from time to time, without worrying about interrupting the primary instance.
- You want to share some but not all of your data with another institution. One instance then collects the "public" data and makes it available for sharing, a second collects the private data while a third combines the data from the first two for internal consumption.
Using separate configuration files
A configuration file can only be used by one instance of Scream at a time. To use multiple, simultaneous instances, therefore, it is necessary to create multiple configuration files and instruct each instance of scream to use a different one.
You can run Scream with any configuration file you like by using the command-line option -i to specify the desired file. For example, to make an instance of Scream use the configuration settings from the file C:\scream\screamrecorder.ini, you would issue the command
If you make changes to the configuration of this Scream instance and quit, it will write out the new configuration to this file instead of to scream.ini. You can also write the current settings to the new configuration file at any time by using the menu item. (Selecting this menu option is also a quick way to see which configuration file is currently in use.)
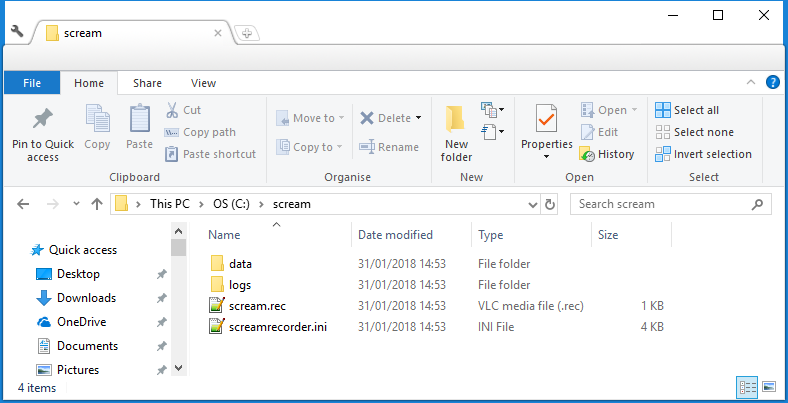
It is normally convenient to create a new working directory for each instance of Scream that you create and to keep the initialisation file for the instance in that directory. The initialisation file mentioned in the command above (or in the shortcut, below) need not exist when Scream is first started - it will be created automatically - but the directory must exist. We recommend that you create the directory first and ensure that you have write permission on it.
You may find it useful to create a short-cut which calls Scream with the -i command-line option. This allows you either to start each instance with a simple double-click or to automate start-up by putting the short-cuts in your Start-up folder. The process is described in detail at the Scream Windows shortcut page.
If have created a shortcut, test it by double-clicking on it. If you are using a batch file, as described below, or you are starting Scream from the command line, do so now. If you have not created the configuration file already, Scream should launch as if for the first time, bringing up the Setup window and the on-line tutorial.
Make any configuration changes you need in the Setup window and the Network Control window and then exit this instance of Scream by closing the main window.
Check that the new configuration file has been written at the path you chose.
The shortcut can now be moved to any desired location: typically the desktop, your working directory or the Start-up folder.
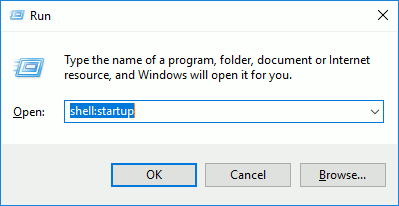
To place the shortcut in your Start-up folder, right-click on the shortcut and select from the context menu. Next, key windows + s and, in the resulting dialogue, type shell:startup
and key enter or click

This opens an explorer window to your start-up folder:
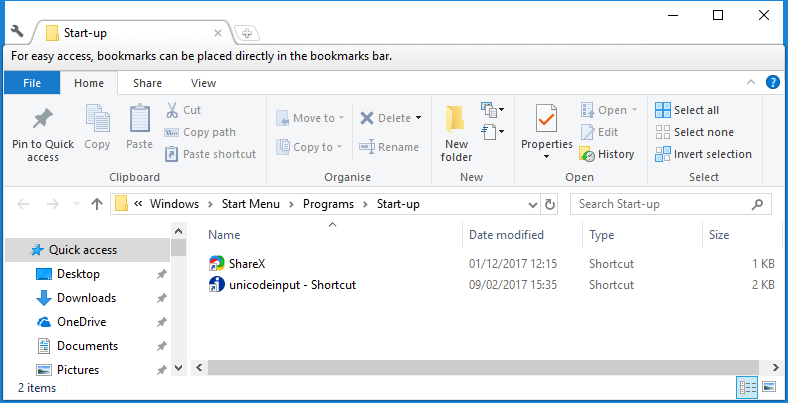
Right-click in the file area and choose from the context menu. This pastes the short-cut into the Start-up folder. You can launch any number of Scream instances automatically in this way, each with its own configuration file.
If you want to make several instances all launch automatically when you log in, you should make sure that they are started in the right order. You can do this by creating a Windows batch-file containing the start-up commands and then storing the batch-file in the Start-up folder. Typical contents might be:
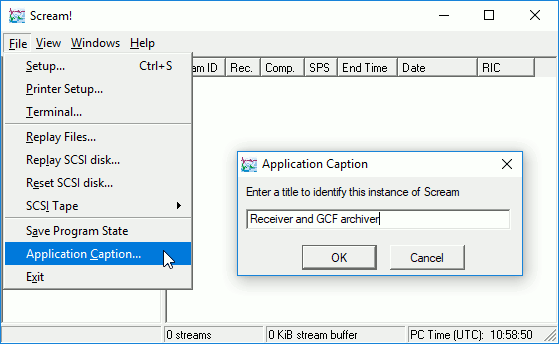
Once multiple instances of Scream are running, it can be easy to lose track of which is which. To help with this, Scream let's you change the application's caption - i.e. the text displayed in the application's title bar. To do this, select from the menu and enter an appropriate title in the resulting dialogue box:
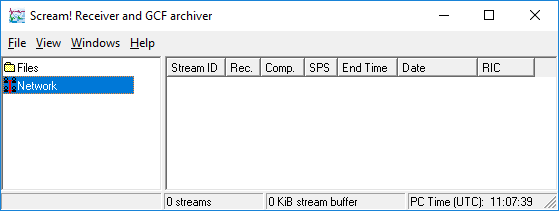
Your text will then be displayed after Scream! in the title bar of the main window -
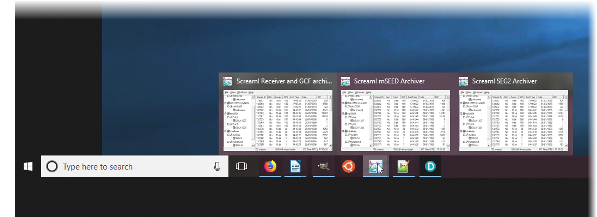
- and in the taskbar, when you hover the mouse over the Scream icon:
Communicating between Scream instances
In most cases where you are running several Scream instances, you will want them to be able to pass data between each other. You can do this using your computer’s loopback network interface, which uses IP addresses in the range 127.0.0.1 to 127.255.255.255. The steps below will let you use two Scream instances to process and view data coming in over the computer’s serial interface. The first instance will receive external data and then push them to a loopback address. The second instance will passively listen for data on the loop-back address, thus receiving all data that the first instance transmits.
-
Launch the first instance of Scream and configure it to receive data streams from your seismic instrumentation, either over the network, from other Scream servers or over a serial link. This Scream instance is going to receive data and, perhaps, record it in real time. We will set up another Scream instance later for viewing the data.
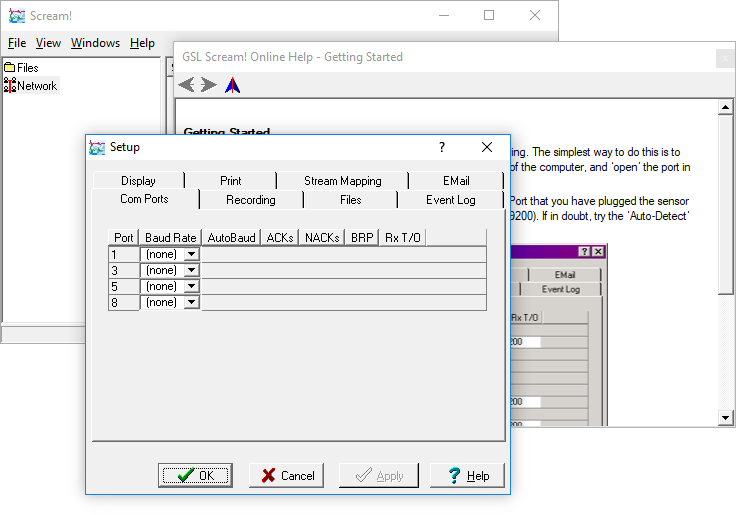
By default, this instance will listen on all local serial ports at the baud rates you specify. If you want any serial ports to be available to other instances of Scream, select (none) as the baud rate for these ports (in the Com Ports tab of the Setup window) and save your changes before starting any more Scream instances.
-
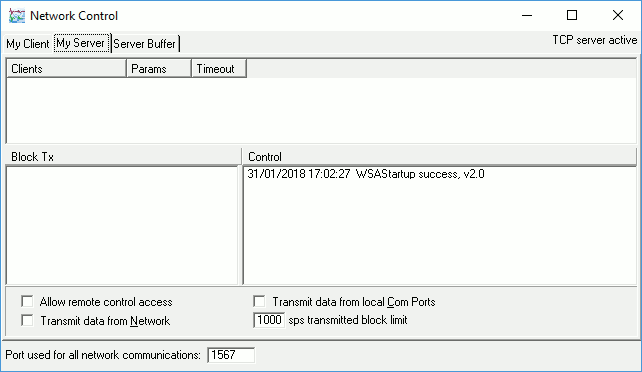
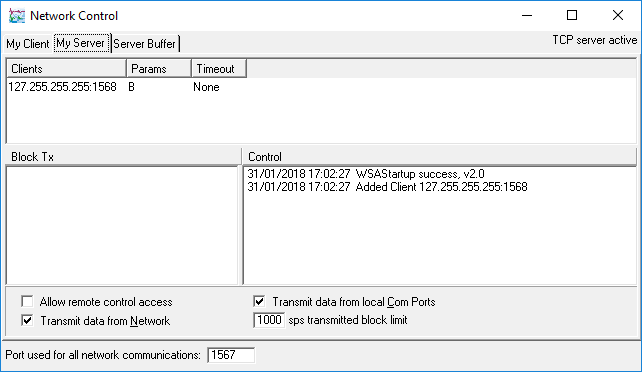
Open the Network Control window by selecting from the main window or keying ctrl + n and click on the My Server tab.
-
Right-click beneath Clients in the upper table, and select .
-
Enter the IP address and port 127.255.255.255:1568. The IP address 127.255.255.255 means “broadcast to all local clients listening on this port”. If you are running more than two Scream instances, you must use this IP address to transmit all the data. If you use the more common 127.0.0.1 address, only one Scream client will be able to connect.
You may use any port number above 1024 as long as it is not being used by another application. By default, Scream listens on port 1567 for data from your seismic network and this is what the first instance of Scream will be doing. (You can see this port number in the Port used for all network communications field at the bottom of the screen-shot.) The second instance of Scream will also need to receive data, but only from the first one, so we must use a different port number for it: here, 1568, as used in the server definition.
-
This instance of Scream will be forwarding the data that it receives so tick one or both of the Transmit data from local Com ports box and the Transmit data from Network check-boxes, as appropriate.
-
Follow the steps above to create a new instance of Scream with a different configuration file, and run it.
-
Open the Network Control window on the new instance of Scream, and click on the My Client tab.
-
In the Port used for all network communications box, type 1568, or the port number you used in step 4.
-
Check the Receive UDP Data box. The local loopback should now be active and, if data are coming in to the first instance, either over the network or via a serial port, you should see the same data appearing in the second instance.
-
Complete the configuration of the second instance of Scream as required.
Data loops
It is easy to create configurations where data streams transmitted by one instance of Scream find their way back to the same instance, at which point the packets start circulating uselessly, causing network congestion and spurious, duplicate entries in Scream's source tree, as illustrated below:
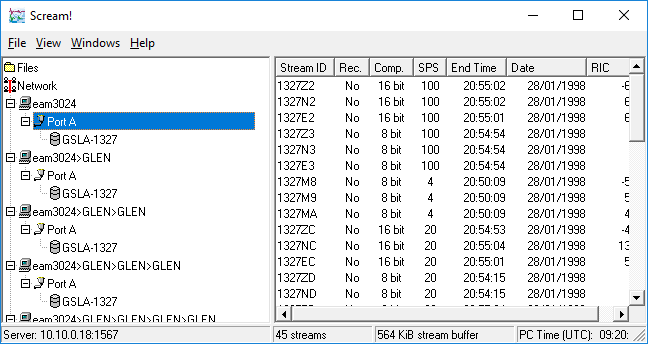
In this example, a PC called GLEN receives data from GSLA-1327 via Port A of eam3024. The first entry in the source tree shows this data path from instrument to PC. Because of a misconfiguration, these data are being transmitted directly back to GLEN and the second entry in the source tree shows that the data path in this case is from eam3024 to GLEN (eam3024>GLEN) and then, implicitly, to GLEN again.
Data that have followed this path are also re-transmitted, so we see eam3024>GLEN>GLEN and eam3024>GLEN>GLEN>GLEN and so forth, as the packets are recirculated.
If the loop had been via a second system - EAM or PC - rather than directly from a PC back to itself, both systems would appear alternately in the path indicator, such as: eam3024>GLEN>eam4446>GLEN>eam4446
When planning a configuration to avoid loops, it is important to realise that each instance will automatically receive any and all data sent to the port listed in the Port used for all network communications box at the bottom of the Network Control window. It is easier to avoid loops if you choose a different port for each instance. You can also use the Transmit data from local Com ports and Transmit data from Network check-boxes, where applicable, to help guard against such loops.